

Key Takeaways
- Specialized Tools Are Essential: Porcelain slab installation requires specific equipment like suction cup racks, diamond cutting blades, and proper trowels. These large-format tiles cannot be safely handled without the right tools and typically require 2-4 workers.
- Proper Substrate Preparation is Critical: The foundation must be clean, level, and structurally sound to support the weight of porcelain slabs and ensure a successful installation.
- Correct Adhesive Application Techniques: Using modified thinset with back-buttering and proper trowel selection is crucial for achieving the recommended 90% mortar contact and preventing air pockets.
- Precision Cutting Methods: Advanced cutting techniques like corner hole drilling prevent cracks and breakage in these expensive materials ($9-$25 per square foot).
- Leveling Systems Prevent Common Problems: Using specialized leveling clips and wedges helps maintain consistent grout lines and prevents lippage between adjacent slabs.
Table Of Contents
- Introduction
- Understanding Porcelain Slabs: The Basics
- Material Selection and Planning
- Essential Tools and Equipment
- Installation Process and Best Practices
- Professional Installation Tips
- Troubleshooting and Quality Control
- Professional Considerations
- Conclusion
Introduction
Porcelain slabs are rapidly gaining popularity in the home improvement and construction industries, offering a sleek, modern aesthetic with unparalleled durability. With retailers like Floor & Decor leading the charge in making these materials accessible, understanding the intricacies of porcelain slab installation is more crucial than ever. While the price range of $9 to $25 per square foot might seem appealing, the installation process is far from a simple DIY task. This comprehensive guide is designed to equip both professional installers and informed homeowners with the knowledge needed to navigate the complexities of porcelain slab installation, ensuring a flawless and lasting result.
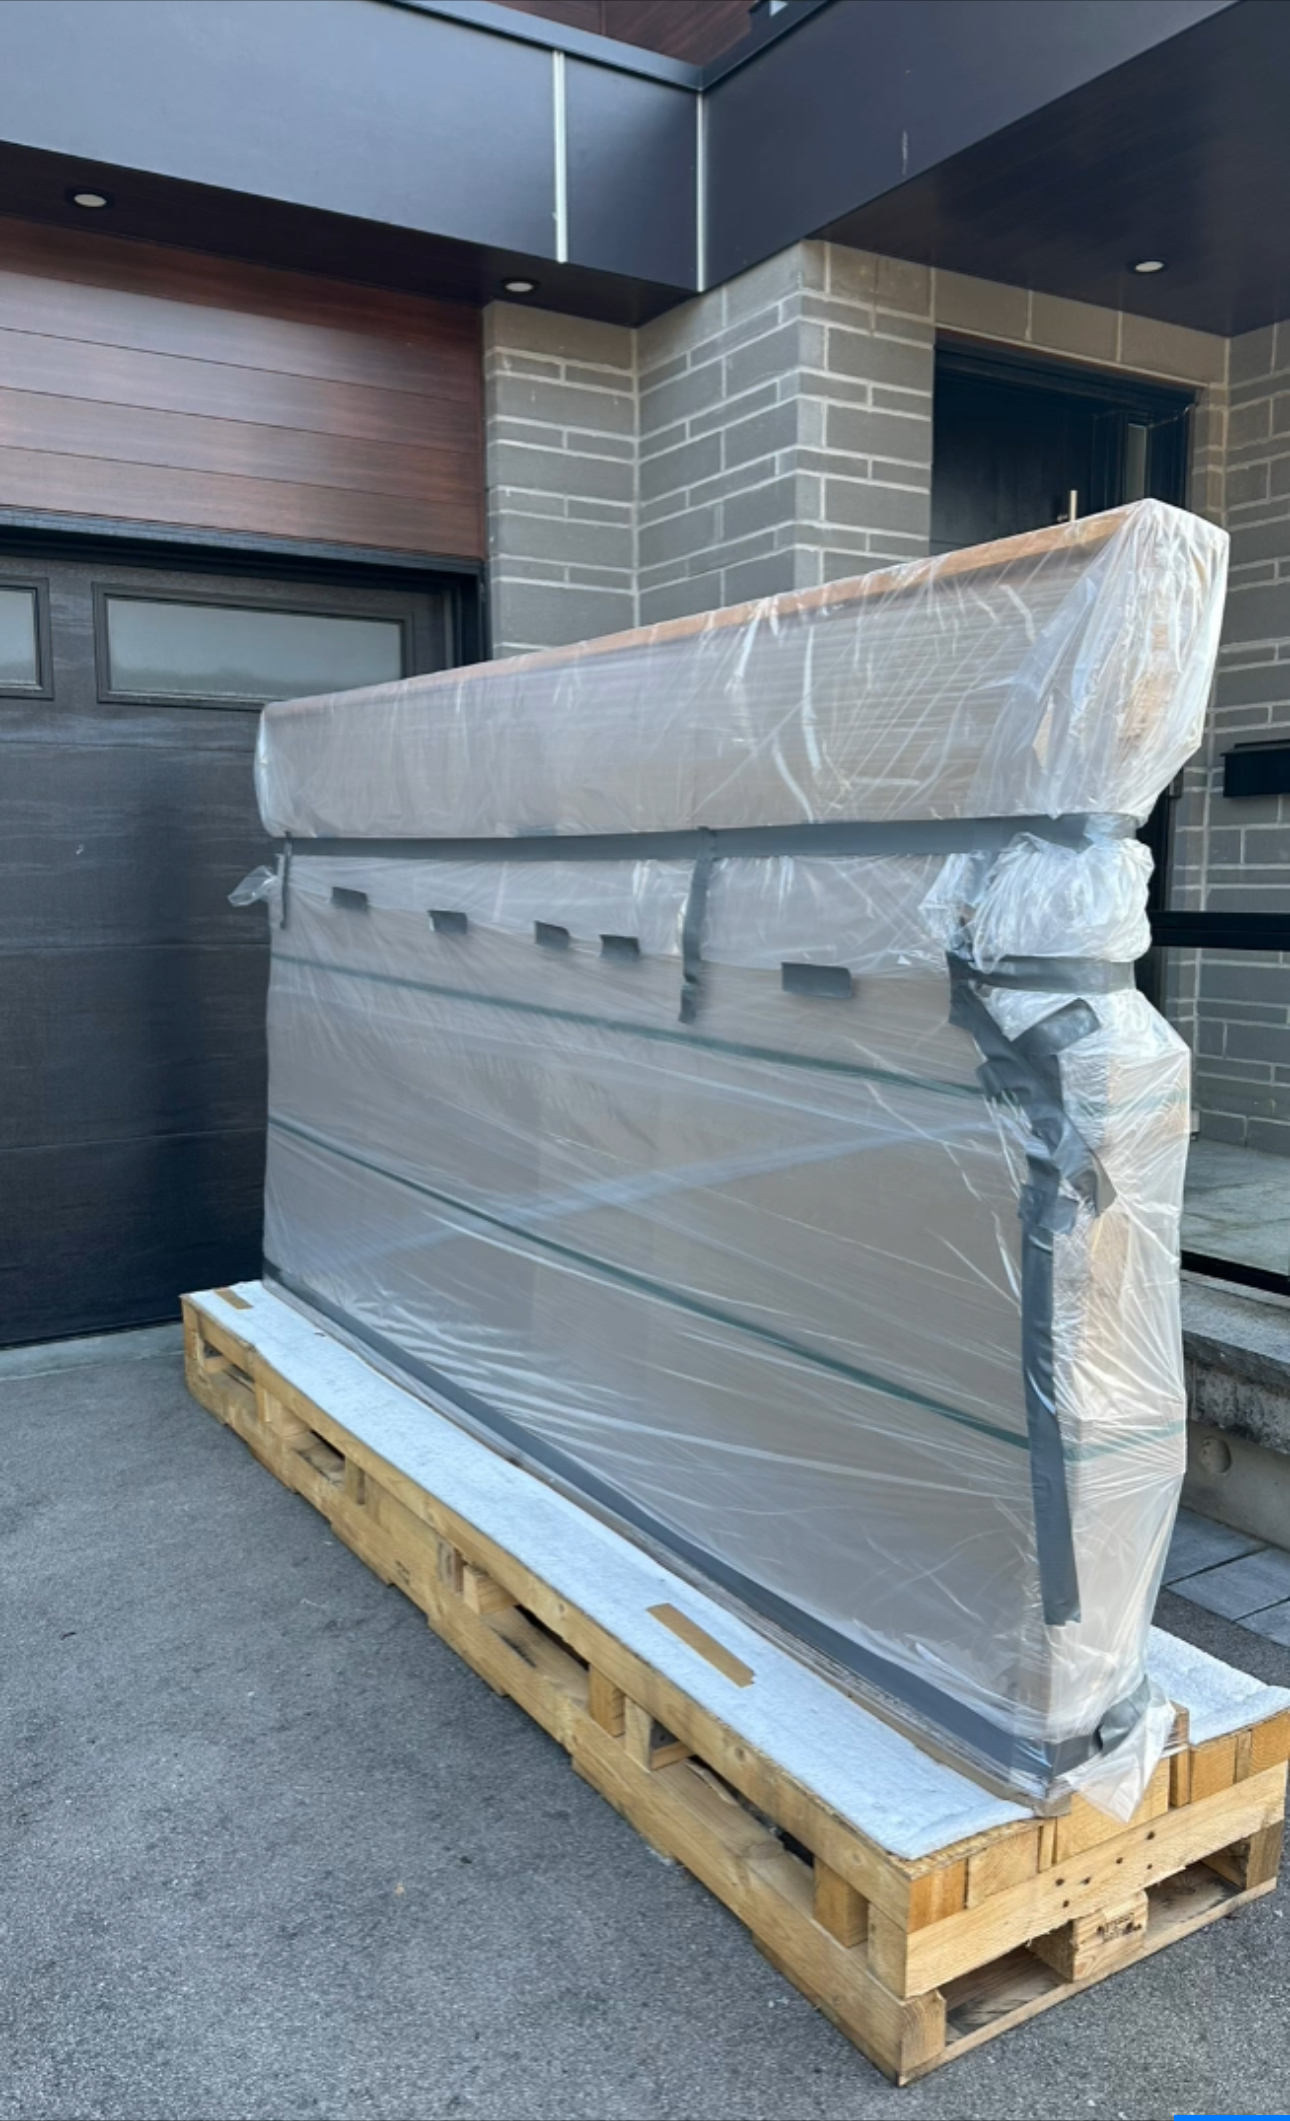
This Is How A Porcelain Slab Delivery Looks Like!
Understanding Porcelain Slabs: The Basics
Before diving into the installation process, it’s crucial to understand what porcelain slabs are and how they differ from traditional tiles.
What Are Porcelain Slabs?
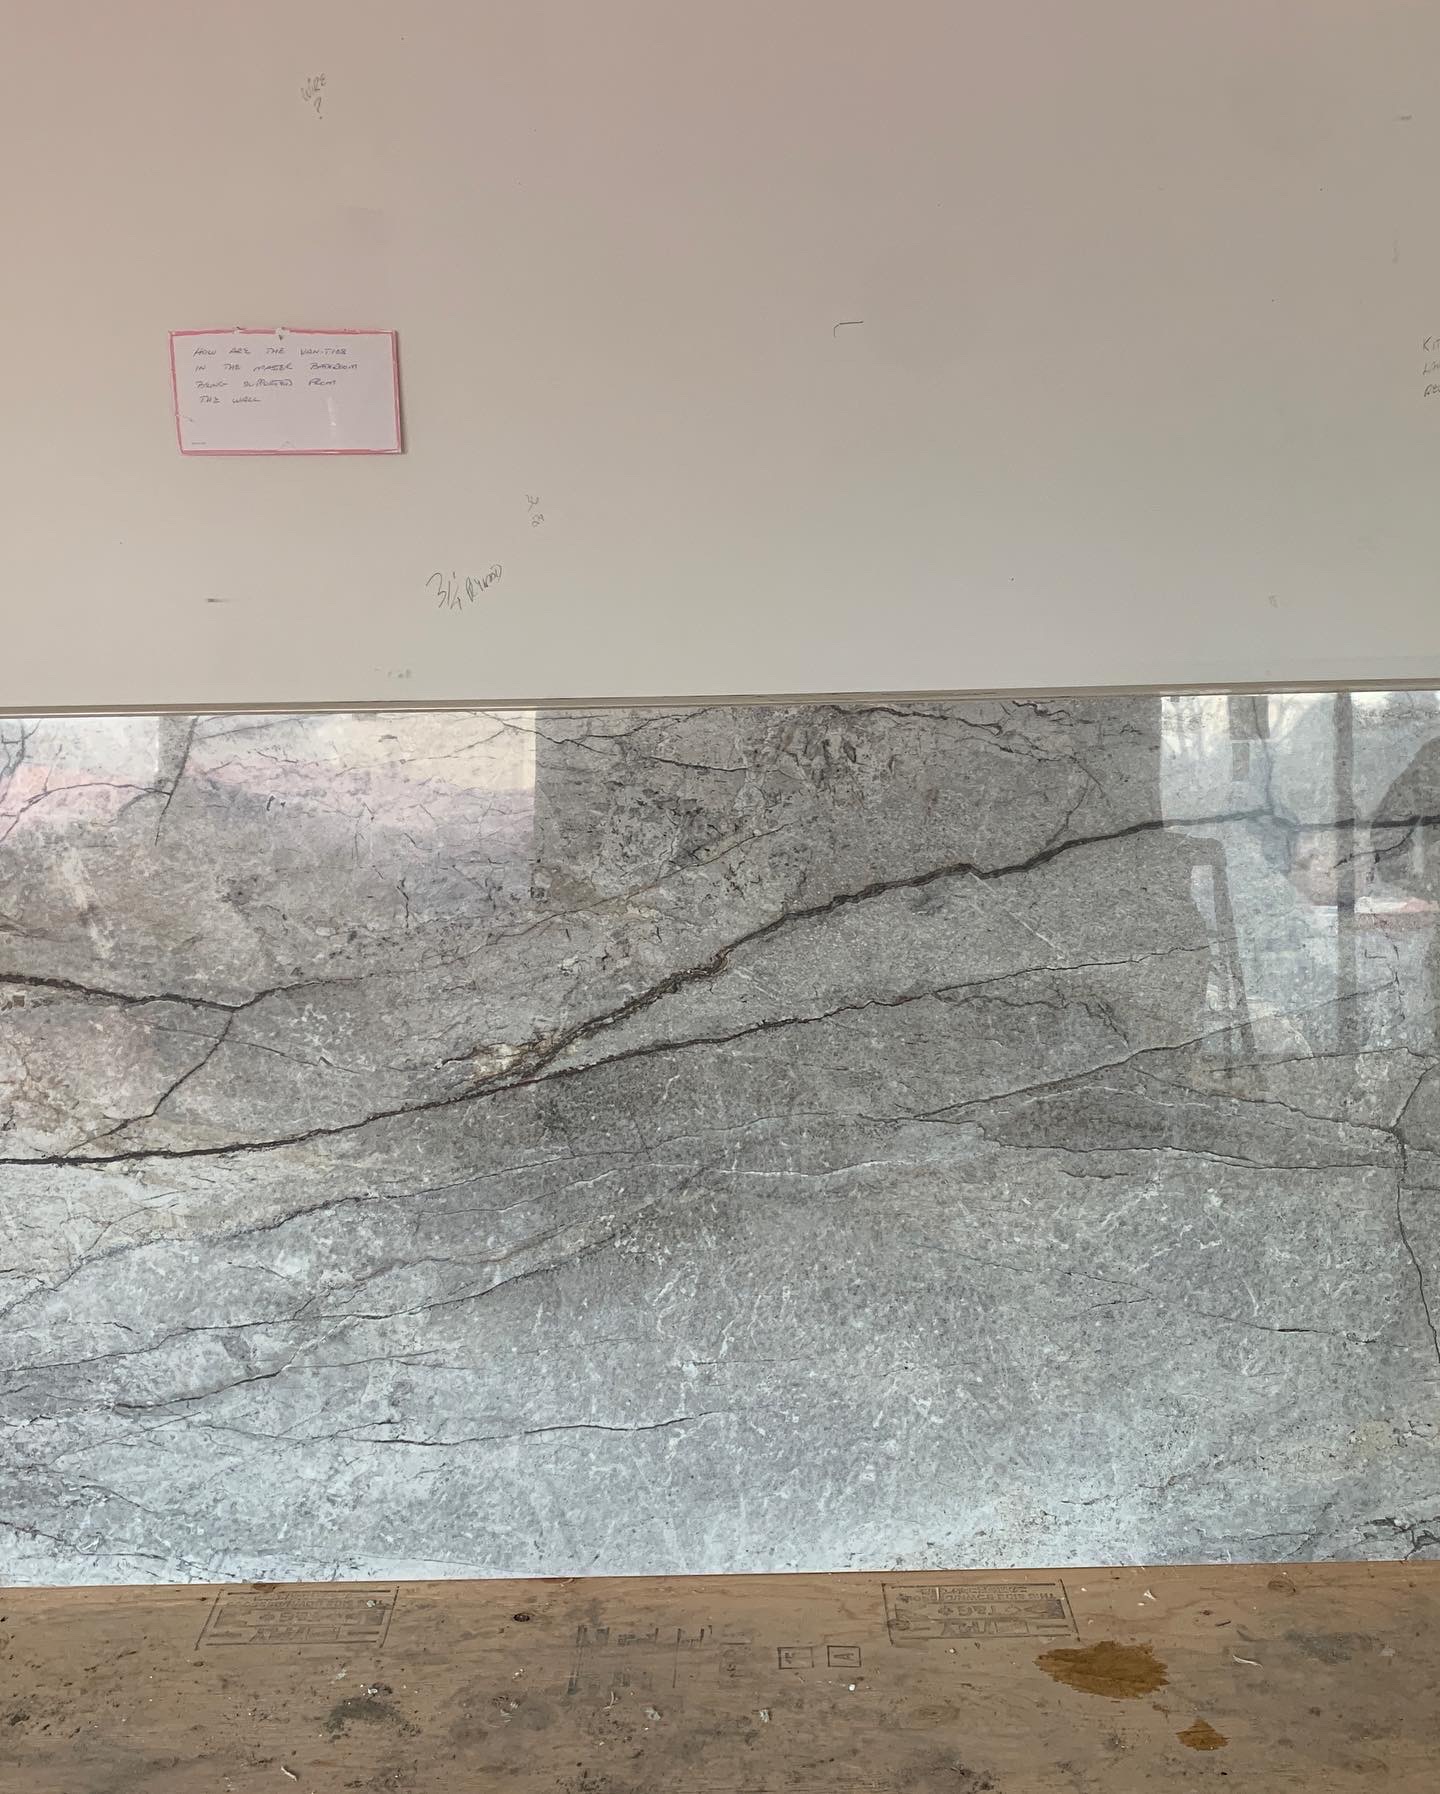
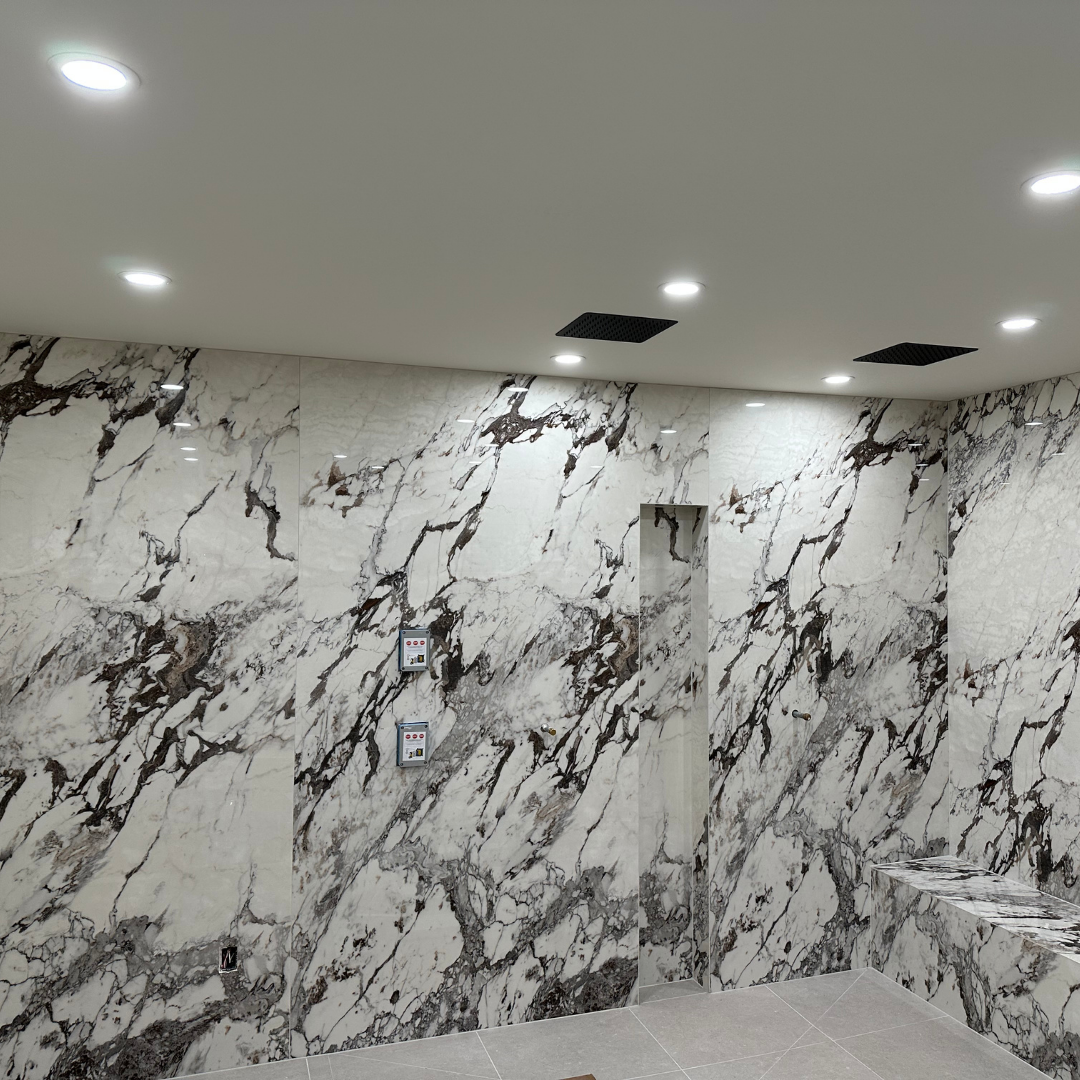
Porcelain slabs are large-format tiles, typically measuring around 5 feet by 10 feet. Their expansive size minimizes grout lines, creating a seamless and luxurious appearance. These slabs are versatile, suitable for various applications, including:
- Floors
- Walls
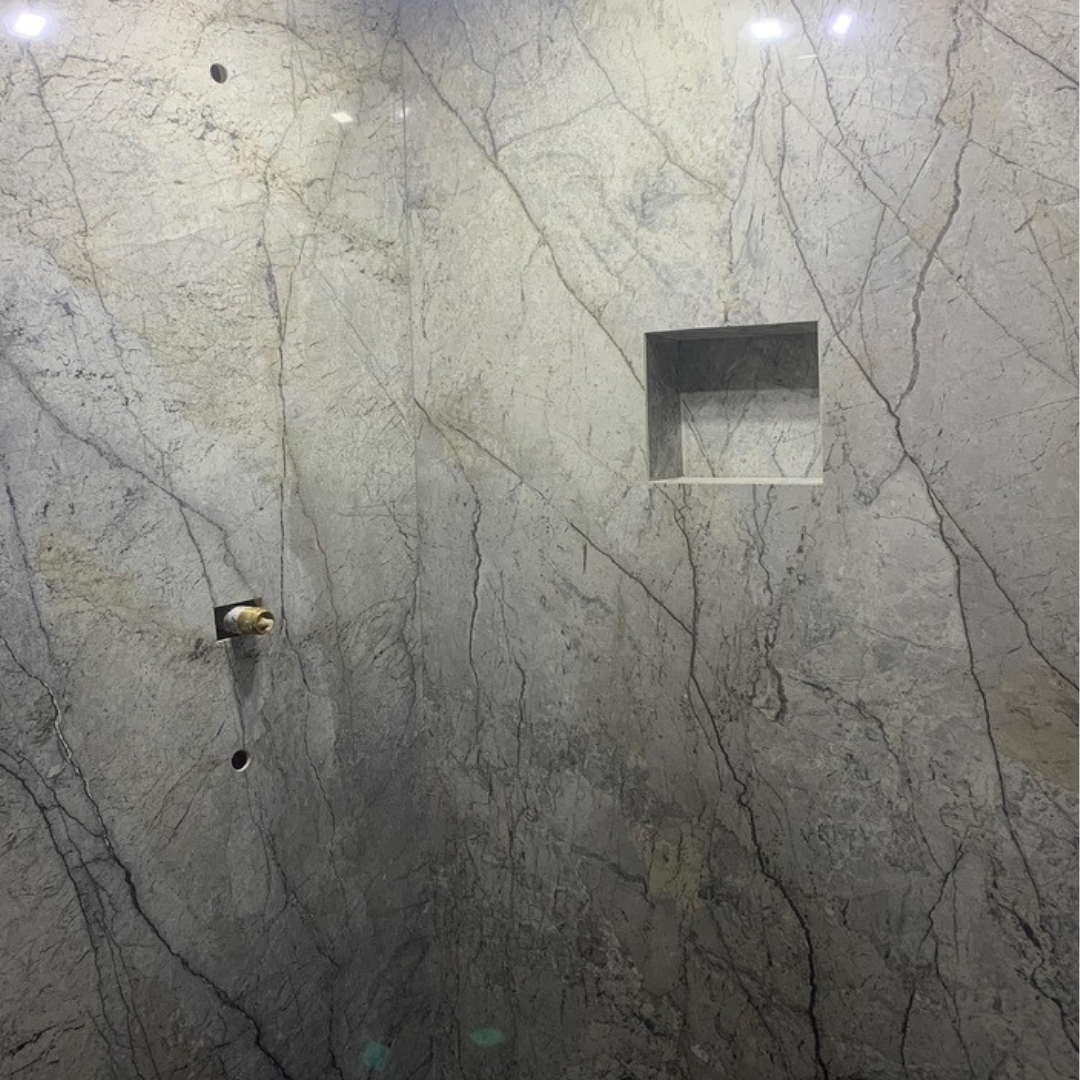
- Showers
- Countertops
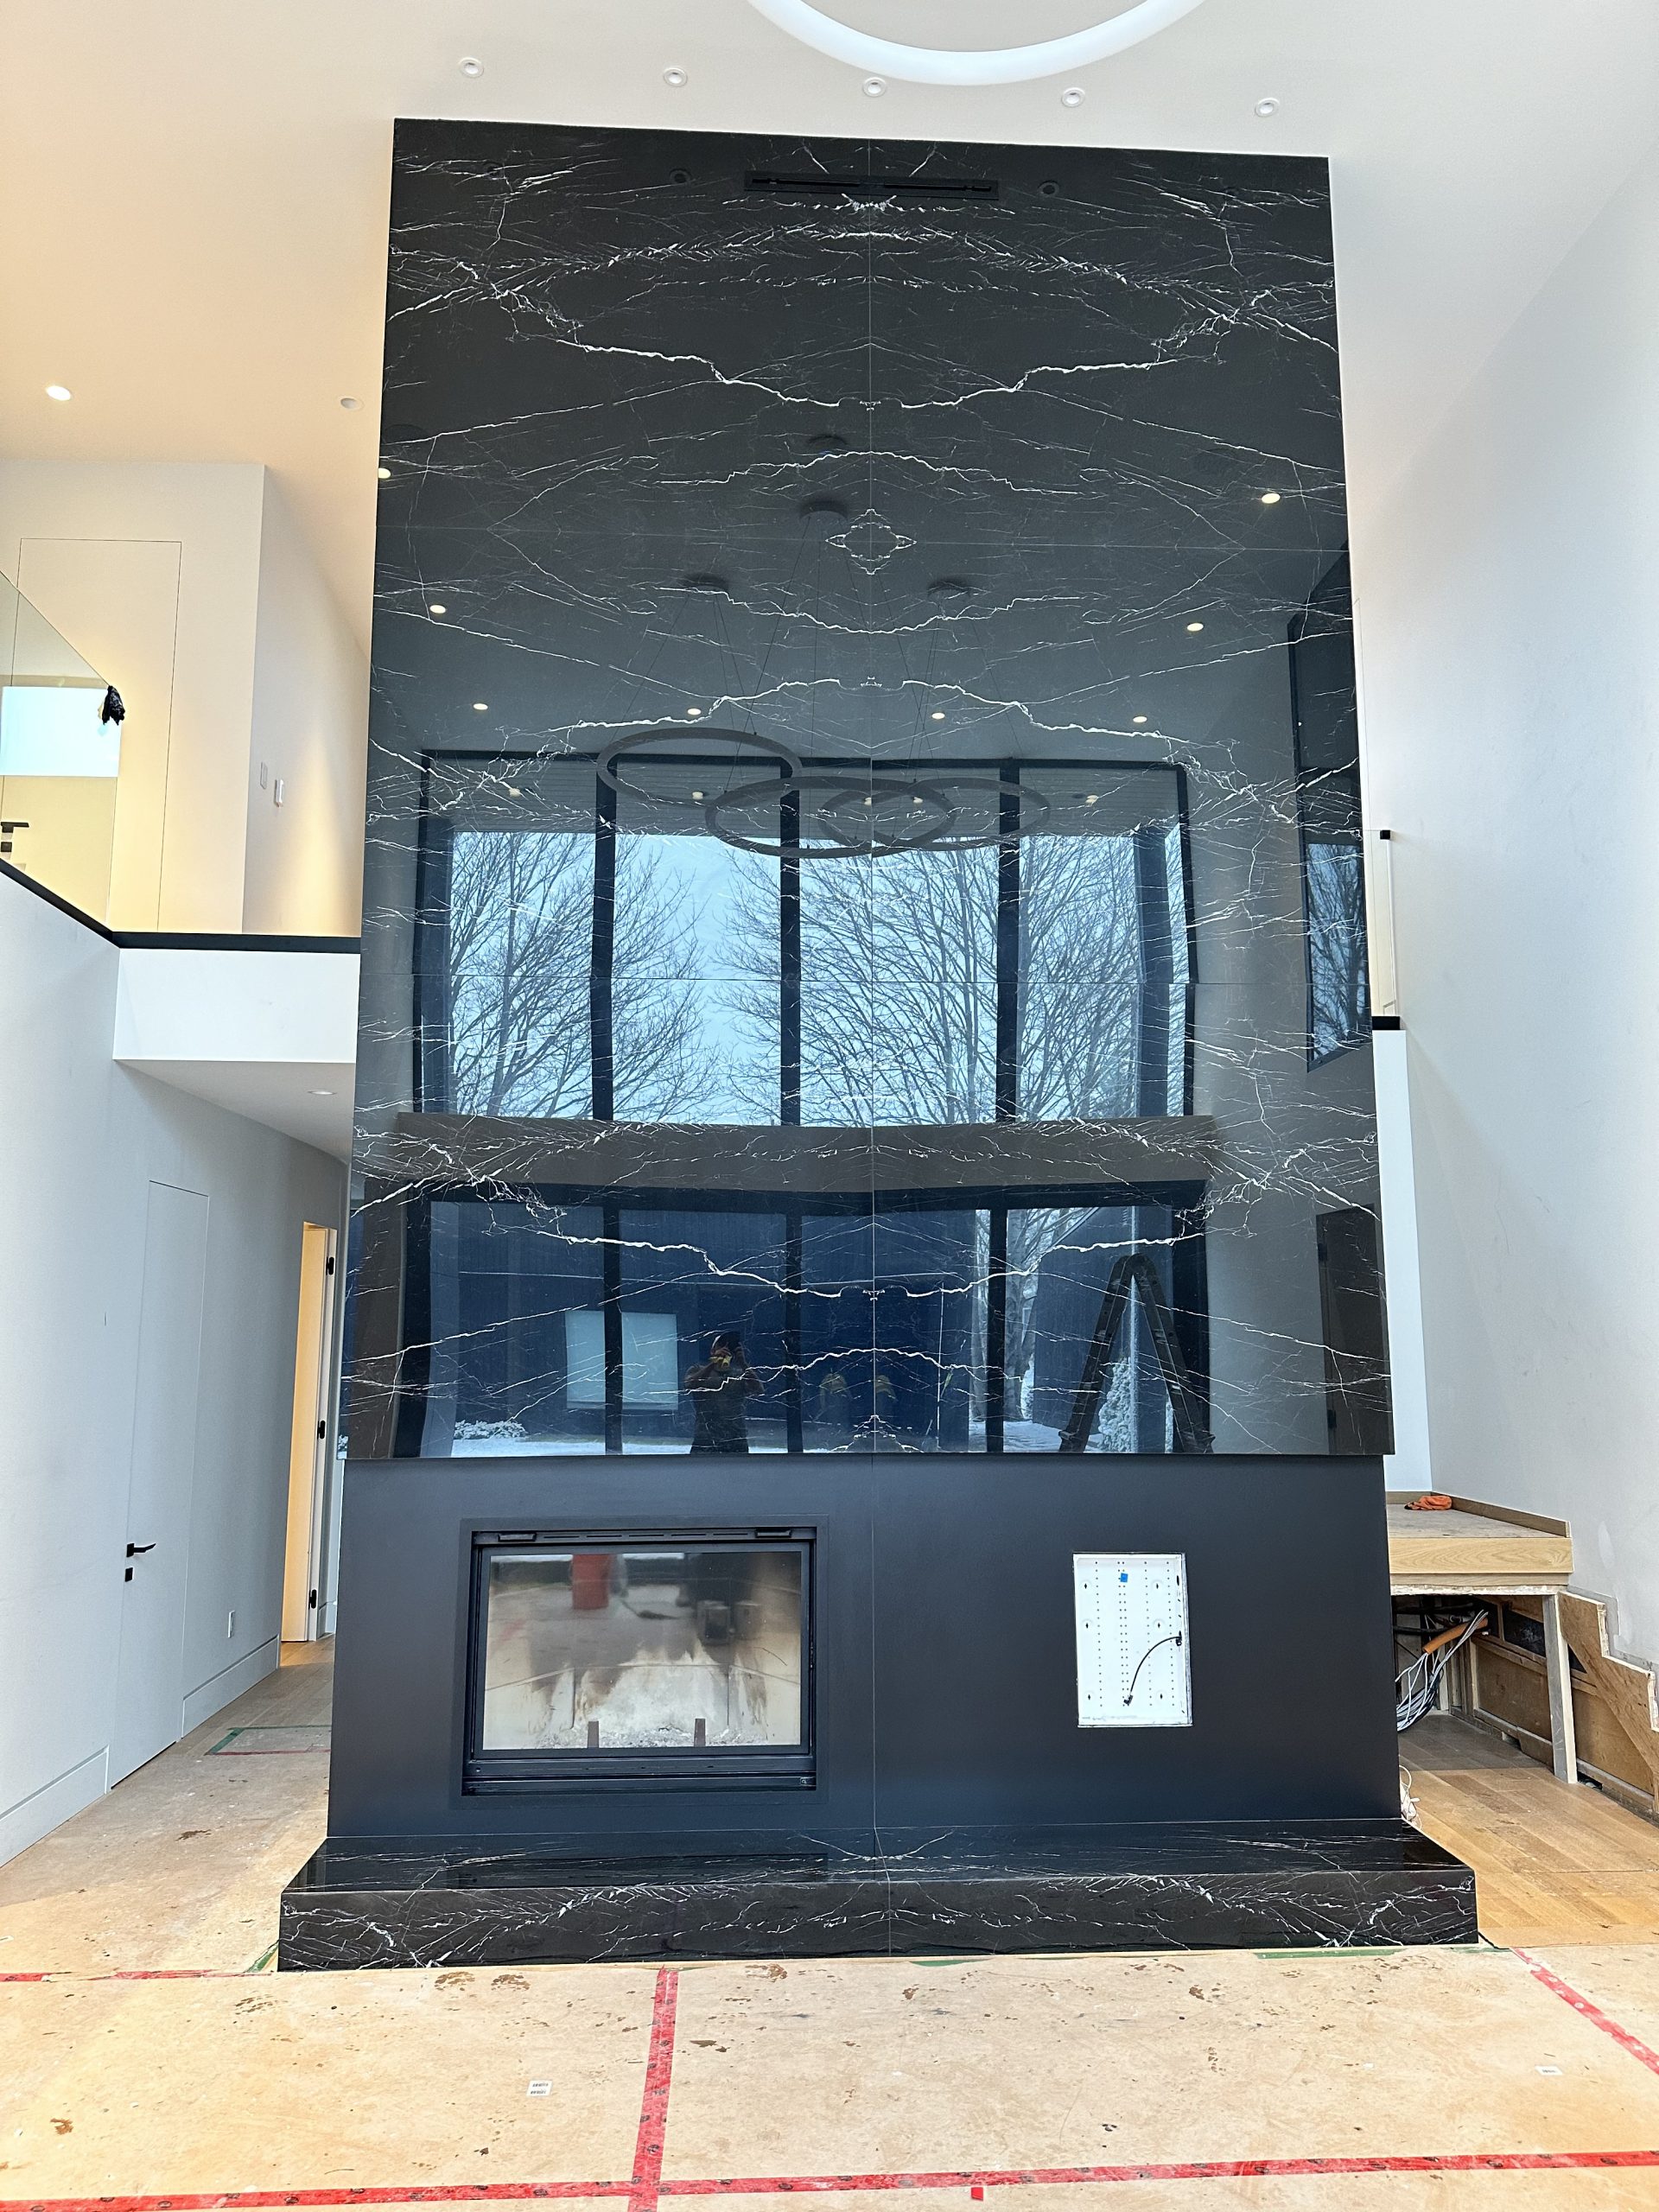
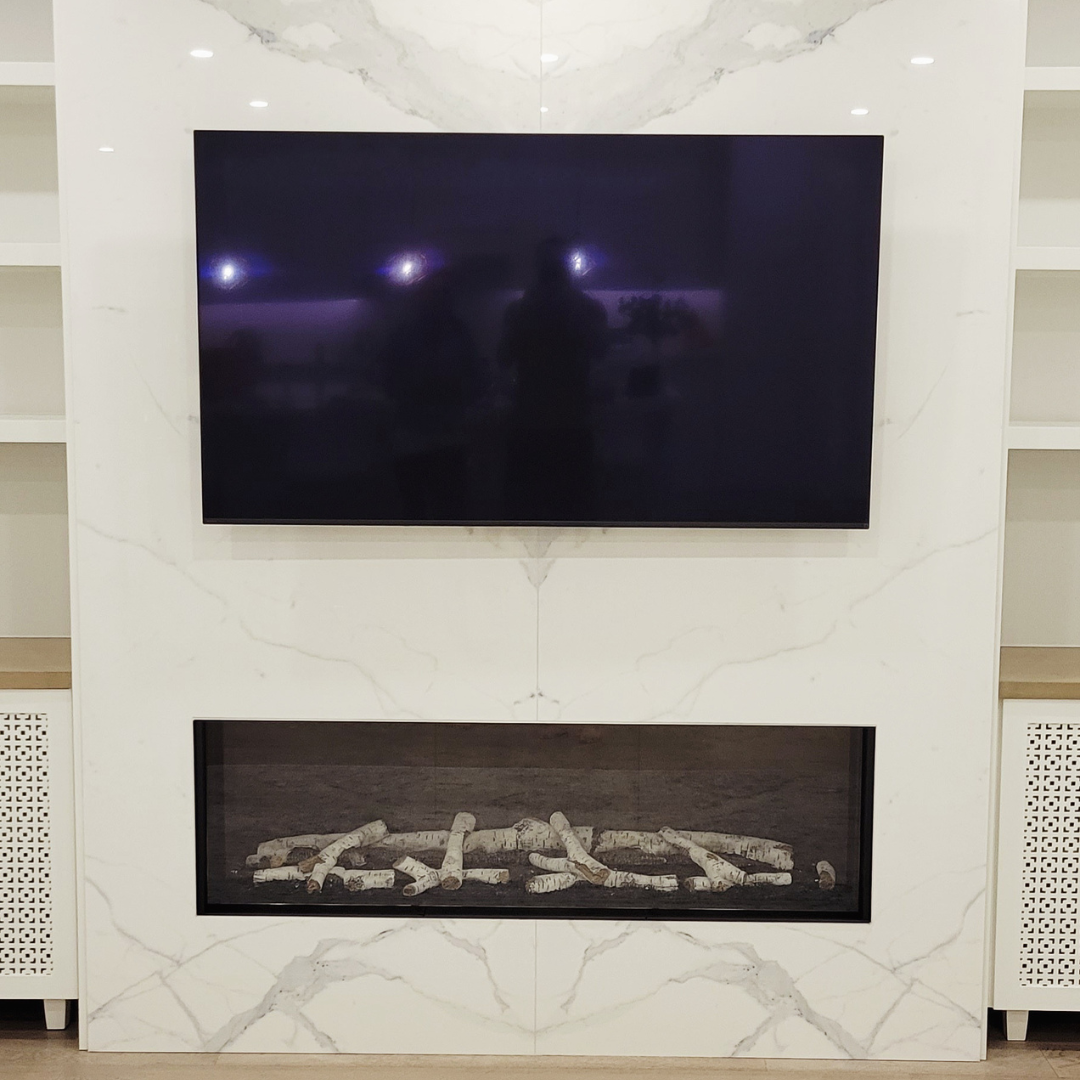
- Fireplaces
The benefits of porcelain slabs over traditional tiles are numerous:
- Aesthetic Appeal: Fewer grout lines result in a cleaner, more modern look.
- Durability: Porcelain is known for its strength and resistance to wear and tear.
- Versatility: Suitable for both residential and commercial applications.
However, the price and material costs are significant factors to consider. While the per-square-foot cost might be competitive, the large size of each slab means that mistakes can be expensive.
Material Selection and Planning
Proper material selection and planning are critical for a successful installation. Consider the following:
- Floor vs. Wall Applications: Ensure the slabs you choose are rated for the intended use. Some slabs are designed specifically for walls and may not withstand the stress of floor traffic.
- Weight and Structural Requirements: Large porcelain slabs are heavy. Verify that your subfloor or wall structure can support the added weight.
- Material Needs and Waste Factors: Accurately calculate the amount of material needed, accounting for cuts and potential breakage. It’s wise to order slightly more than you need to avoid running short.
- Storage and Handling Considerations: Porcelain slabs require careful handling and storage to prevent damage. Store them on A-frame transport equipment to ensure stability.
Essential Tools and Equipment
Installing porcelain slabs requires specialized tools and equipment to ensure precision and safety. Here are just some of the tools to consider.
Specialized Installation Considerations
- Suction Cup Racks and Handling Equipment: These are essential for safely moving and positioning the large slabs. Attempting to move them without proper equipment can lead to breakage and injury.
- Required Number of Workers: It’s generally recommended to have two to four people to handle the slabs, even with a rack.
- Transportation Considerations: Moving the slabs from the delivery point to the installation area can be challenging. Consider the dimensions of doorways, hallways, and stairs.
- Safety Equipment Requirements: Wear appropriate safety gear, including gloves and eye protection, to prevent injuries from sharp edges and potential breakage.
Cutting Tools and Technology
Cutting porcelain slabs requires precision and the right tools:
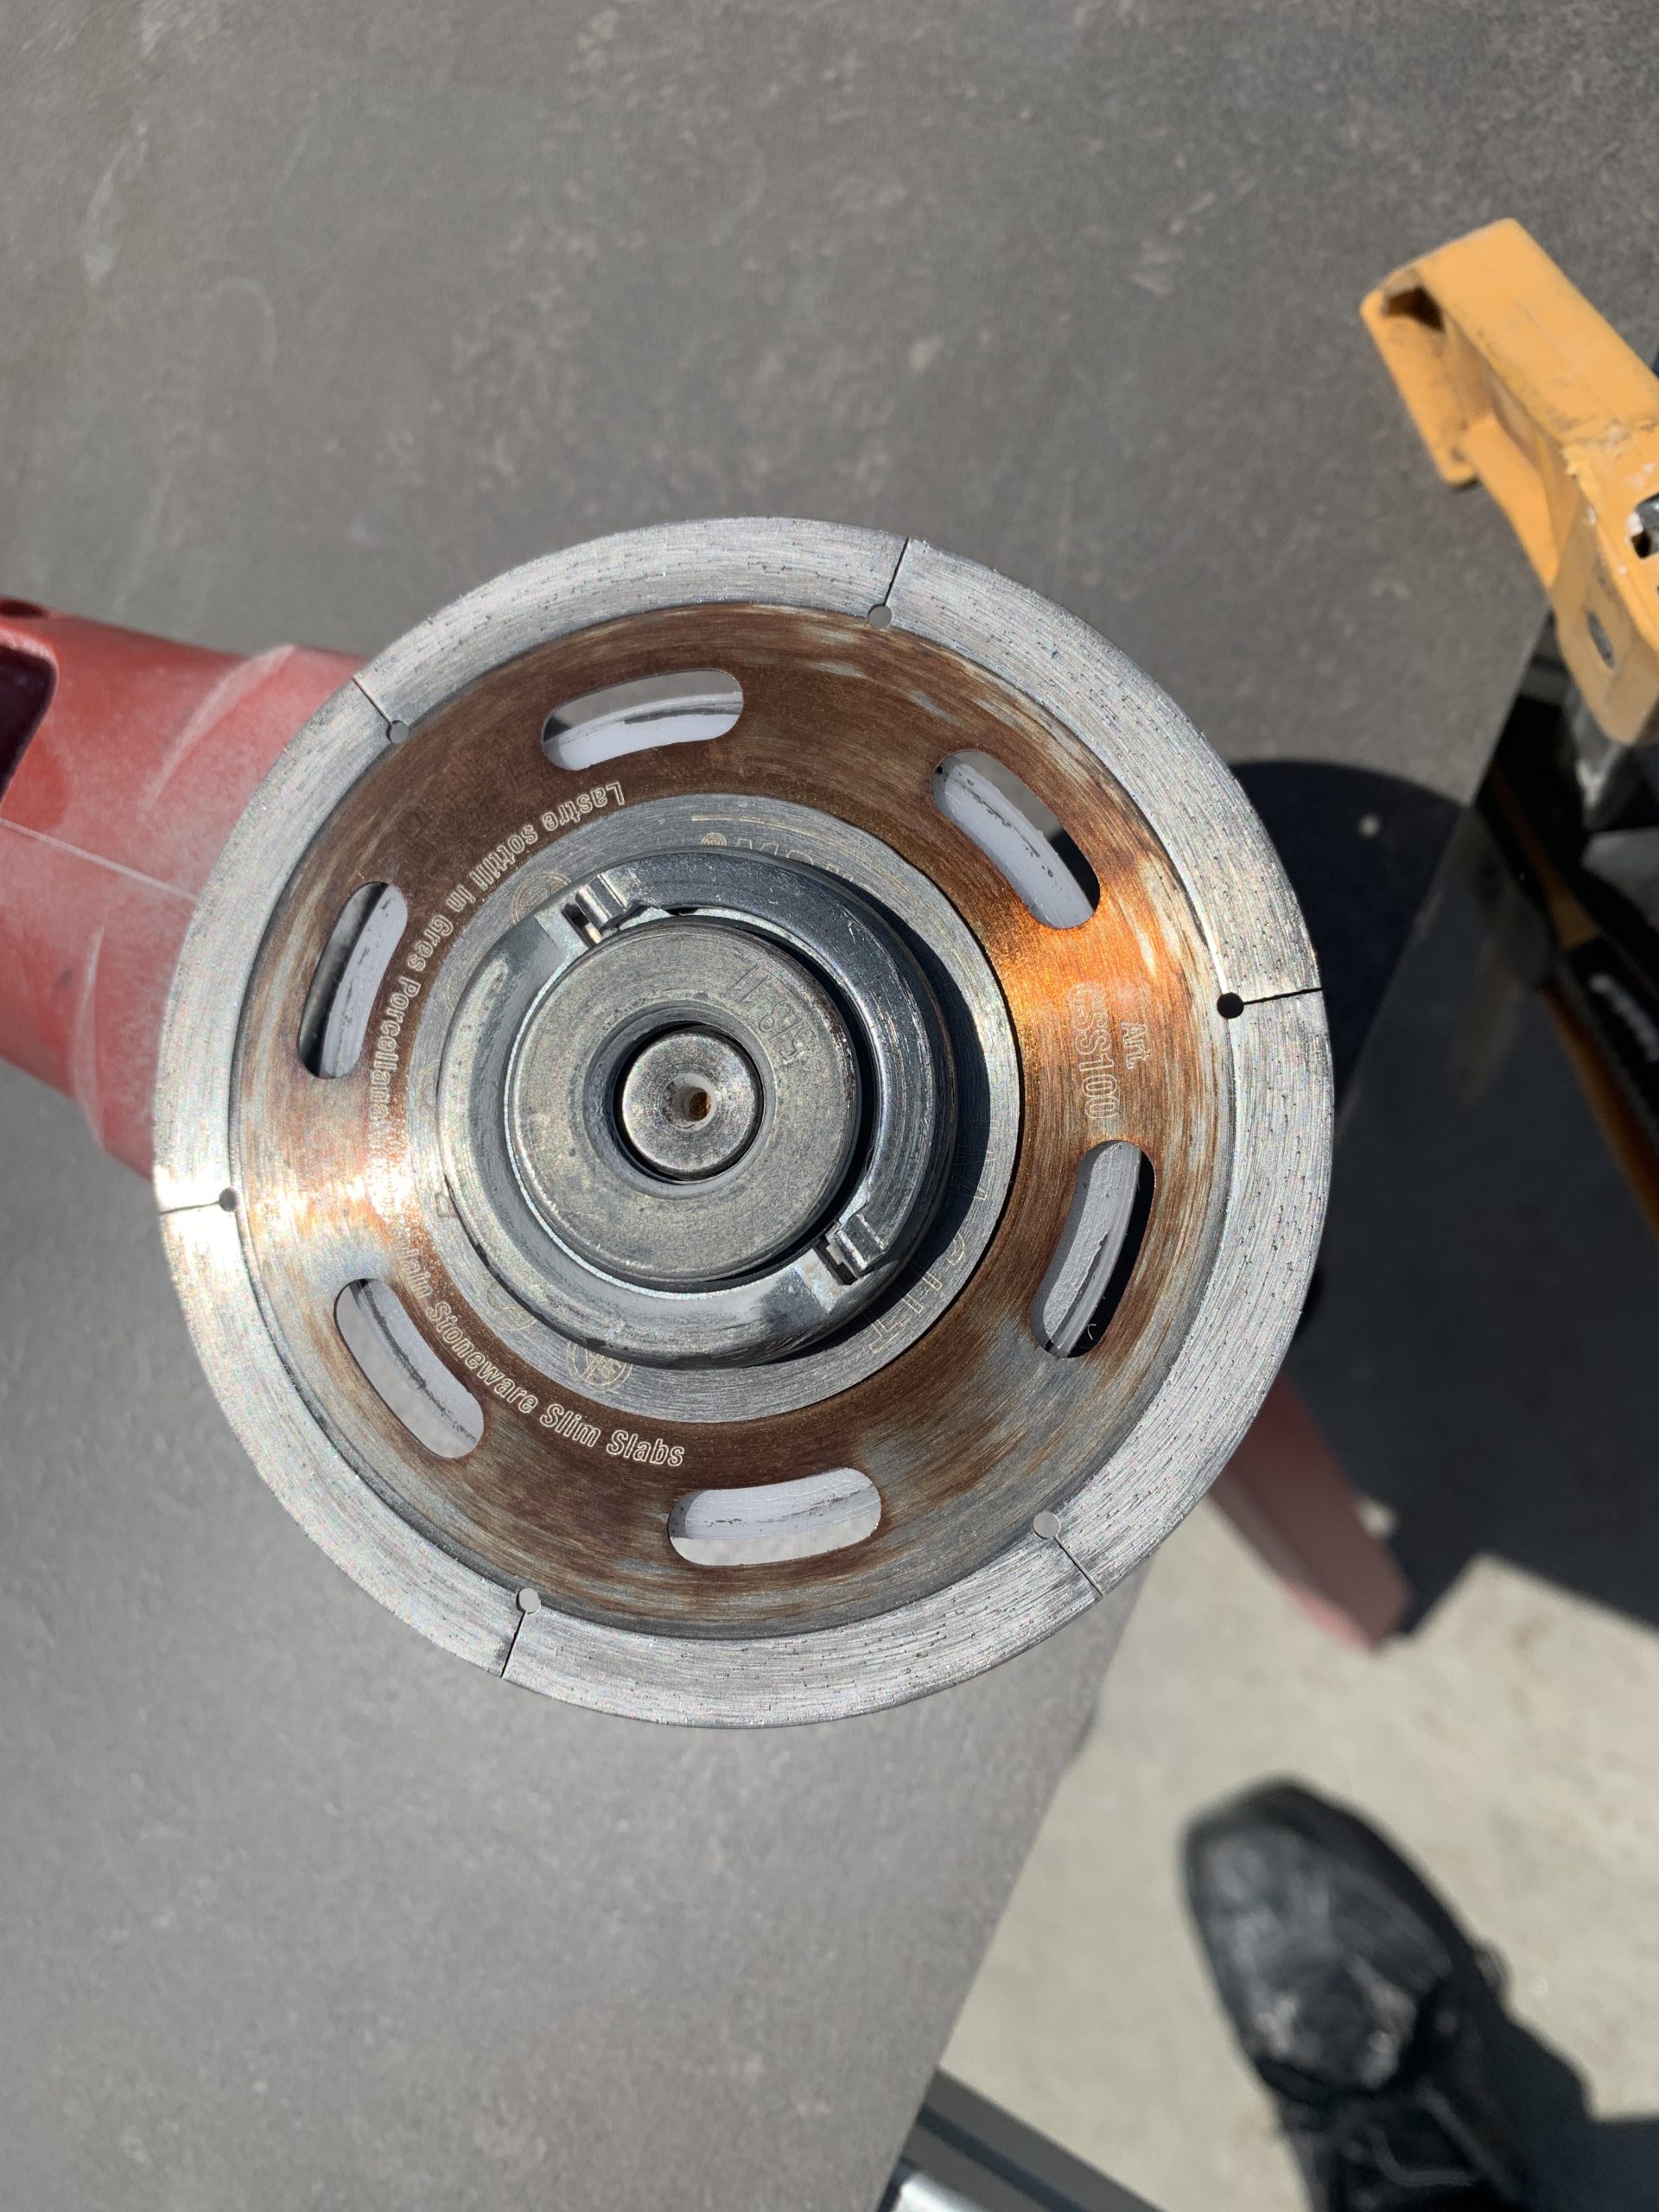
- Diamond Blade Requirements: Use high-quality diamond blades designed for cutting thin slabs. Brands like Montolit offer blades specifically for this purpose.
- Hole Saw Specifications: When cutting holes for plumbing fixtures or electrical outlets, use hole saws designed for porcelain.
- Score and Snap Tools (FL3 System): These tools allow you to score the slab and then snap it along the scored line. This method is particularly useful for creating slivers or making straight cuts.
- Proper Cutting Techniques: Avoid simply taking a grinder and cutting straight through the slab, as this can create weak points. Instead, use pilot holes at the corners of the cut and then use your grinder to connect the holes.
Installation Process and Best Practices
The installation process requires careful attention to detail and adherence to best practices to ensure a flawless finish.
Surface Preparation
- Substrate Requirements: The substrate must be clean, level, and structurally sound.
- Cleaning and Leveling Procedures: Remove any debris, dirt, or contaminants from the surface. Use a self-leveling compound to correct any unevenness.
- Temperature and Environmental Considerations: Ensure the ambient temperature and humidity levels are within the recommended range for the adhesive you’re using.
Adhesive Selection and Application
- Modified Thinset Requirements: Use a high-quality, polymer-modified thinset mortar specifically designed for large-format tiles. Ideally you want to go with a lite mortar like Mapei Ultra-lite.
- Proper Trowel Selection: Use a trowel with a notch pattern that ensures adequate coverage without creating air pockets. Options include the Marshall Town tile freak trowel or a Euro notch trowel.
- Coverage Patterns: Ensure at least 90% mortar contact with the tile surface.
- Application Techniques: Back-buttering the tile is essential, especially for tiles with dimensional length greater than 20″ x 20″.
Setting Techniques
- Cross-Motion Installation Method: When setting the slab, use a cross-motion to press it into the thinset. Start in the center and work your way outwards in quadrants.
- Air Pocket Prevention Using A Vibrator: The cross-motion technique helps to eliminate air pockets, which can weaken the slab and lead to breakage. But an additional step is applying a vibrator to the panel and working outwards to vibrate out any air pockets.
- Proper Pressure Application: Apply even pressure across the entire surface of the slab to ensure full contact with the thinset.
- Working in Quadrants: Divide the slab into quadrants and work on each section systematically to ensure consistent coverage and pressure.
Professional Installation Tips
Leveling Systems
- Types of Leveling Clips: Use leveling clips to maintain a consistent grout line and prevent lippage. There are various types available, including clip-and-wedge systems.
- Proper Spacing and Placement: Place the leveling clips at regular intervals along the edges of the slabs.
- Installation Techniques: Insert wedges into the clips to apply downward pressure, pulling adjacent tiles into level alignment.
- Common Mistakes to Avoid: Ensure the leveling system is removed after the appropriate curing time to avoid damaging the grout joints.
Cutting and Fitting
- Corner Hole Drilling Technique: When cutting rectangular openings, drill pilot holes at the corners to release stress and prevent cracking.
- Stress Point Management: Avoid creating sharp corners or angles that can concentrate stress and lead to breakage.
- Edge Finishing: Smooth the edges of the cut slabs using diamond polishing pads to prevent chipping and ensure a clean finish.
- Complex Cuts and Openings: For intricate cuts, consider using waterjet cutting or CNC sawjets, which provide greater precision and minimize waste.
Troubleshooting and Quality Control
Common Installation Challenges
- Air Pocket Prevention: Use the proper trowel and setting techniques to minimize air pockets.
- Lippage Control: Use a leveling system to maintain a consistent surface and prevent lippage.
- Break Prevention: Handle the slabs with care and use the appropriate tools and techniques to prevent breakage.
- Edge Protection: Protect the edges of the slabs during installation to prevent chipping and damage.
Quality Assurance
- Coverage Verification: Check for adequate thinset coverage by lifting a corner of the slab and inspecting the underside.
- Leveling Checks: Use a level to verify that the slabs are properly aligned and that there is no lippage.
- Curing Time Requirements: Allow the thinset to cure for the recommended time before applying grout or subjecting the surface to traffic.
- Final Inspection Points: Inspect the finished installation for any defects, such as cracks, chips, or uneven grout lines.
Professional Considerations
Business Aspects
- Proper Job Pricing Strategies: Consider the cost of materials, labor, and specialized tools when pricing a porcelain slab installation job.
- Tool Investment Considerations: Investing in high-quality tools is essential for achieving professional results and minimizing the risk of damage or injury.
- Material Handling Logistics: Plan for the delivery, storage, and handling of the slabs to minimize the risk of breakage.
- Risk Management: Obtain adequate insurance coverage to protect against potential liabilities.
Client Education
- Setting Expectations: Clearly communicate the installation process, timeline, and potential challenges to the client.
- Maintenance Requirements: Provide the client with instructions on how to properly clean and maintain the porcelain slabs.
- Warranty Considerations: Explain the warranty coverage for the materials and the installation.
- Value Proposition: Highlight the benefits of porcelain slabs, such as their durability, aesthetic appeal, and ease of maintenance.
Conclusion
Proper training and expertise are essential for successfully installing porcelain slabs. As these materials become more prevalent in the construction and home improvement industries, understanding the nuances of their installation will become increasingly important. By following the tips and techniques outlined in this guide, both professional porcelain slab installers and informed homeowners can achieve stunning and long-lasting results.
For further learning, consider taking courses or workshops on porcelain slab installation and consulting with experienced professionals. With the right knowledge and skills, you can confidently tackle any porcelain slab project and create a beautiful and durable surface that will enhance any space.


Meet Sol!
I am a certified renovation technician with a specialization in tile installation. I am passionate about bringing beauty to any space I work on. As the founder of Canadian Tile Pro, my focus is quality workmanship backed by great customer service.
Credentials:
- Author of Tile Confidential: A Knowledge Base For Interior Designers And Architects
- Certified Construction Technologist through York Construction Academy
- B.Sc. University Of Guelph
- Certified Tile Installer through the Tile, Terrazo, Marble Trade School
- Studied Schluter®-Systems at Schluter-Systems North America
Our commitment is to provide customers with the highest standard of customer service


Ready to Give Your Home a Makeover? We can Help!
It’s as easy as 1, 2, 3!
1
Fill out a form to get started with a quote.
2
Book a design consultation and select tile.
3
Schedule a suitable start date to get started.