

Key Takeaways
- The backsplash is the most visually impactful element in your kitchen relative to its size. It covers a small amount of wall space and influences how the entire room reads. Getting it right matters more than the square footage suggests.
- Decide early whether you want it to stand out or blend in. That single decision drives every other choice, from material to colour to grout. Trying to make those calls without answering the feature vs. backdrop question first is where most homeowners go wrong.
- Classic white subway tile is not the move. It dominated Ontario kitchens for over a decade and now reads as builder-grade. There are better options at every price point.
- Grout colour is not an afterthought. The same tile looks completely different with matching versus contrasting grout. This decision shapes the final result as much as the tile itself.
- Material choice needs to match how you actually cook. Natural stone in a kitchen that sees heavy cooking will stain. Glass near outlets will chip during difficult cuts. Porcelain and ceramic handles almost everything. Be honest about your kitchen before you commit.
Why the Backsplash Punches Above Its Weight
The kitchen backsplash covers a small portion of your kitchen wall, typically somewhere between 30 and 60 square feet depending on your layout. But it sits at eye level, spans the most visible wall in the room, and ties together your countertops, cabinets, and overall aesthetic in a way that no other single element does.
A well-chosen backsplash can increase a kitchen’s perceived value meaningfully. A poorly chosen one, or one installed without thinking through the details, creates a visual problem that is expensive to fix. In Ontario kitchens where renovation costs are significant and most homeowners plan to stay in their homes for 10 or more years, this decision deserves real attention.
The guide below breaks the decision into the parts that actually matter: whether the backsplash leads or supports, what material suits your kitchen and lifestyle, how far to tile and where to stop, colour and undertone matching, and grout strategy. Work through these in order and the rest of the decision gets easier.
The First Question: Feature or Backdrop?
This is the most important decision you will make about your backsplash, and most homeowners skip it entirely. Before you look at a single tile, decide what role the backsplash plays in your kitchen.
The Feature Approach
A feature backsplash is the focal point. It draws the eye, adds personality, and makes a design statement. This approach works when your kitchen has mostly closed storage, your countertops are relatively clear of appliances, and you want the backsplash to carry the visual interest in the room.
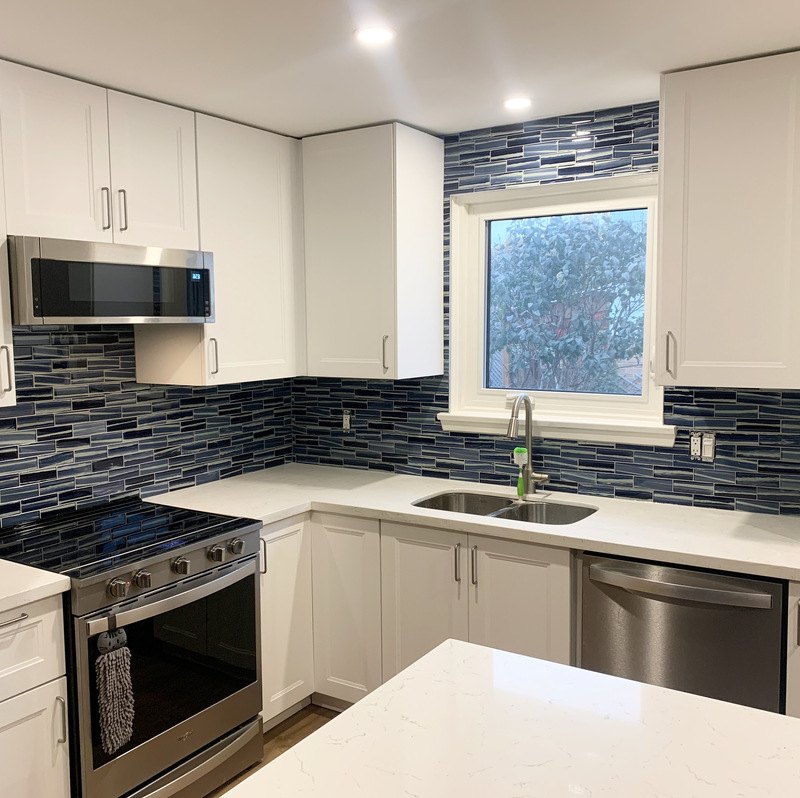
Feature backsplashes use bold colour, strong pattern, interesting texture, or dramatic material. A richly veined marble slab behind the range, Moroccan-inspired patterned tile in a neutral kitchen, or a bold coloured tile with contrasting grout all fall into this category. The tile becomes the reason someone notices your kitchen.
The trade-off is budget and commitment. Feature tiles tend to require a more coordinated approach to the rest of the kitchen’s decor. If you go bold on the backsplash, you pull back everywhere else.
The Backdrop Approach
A backdrop backsplash supports the kitchen rather than leading it. It creates cohesion, extends the visual field, and lets other elements carry the design. This approach works when your counters have appliances and everyday items visible, you have open shelving displaying dishes or cookware, or your cabinets and countertops are already doing the heavy lifting visually.
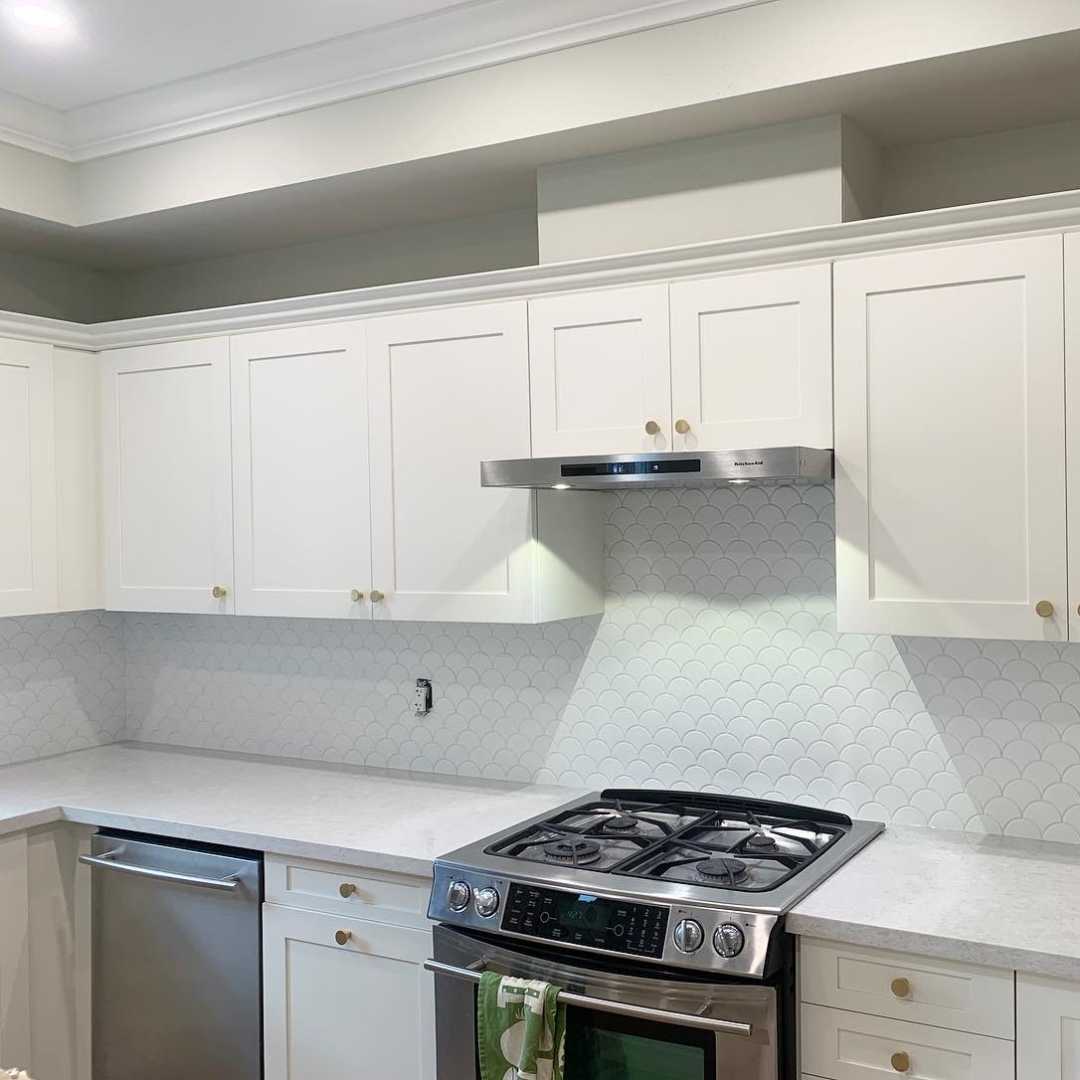
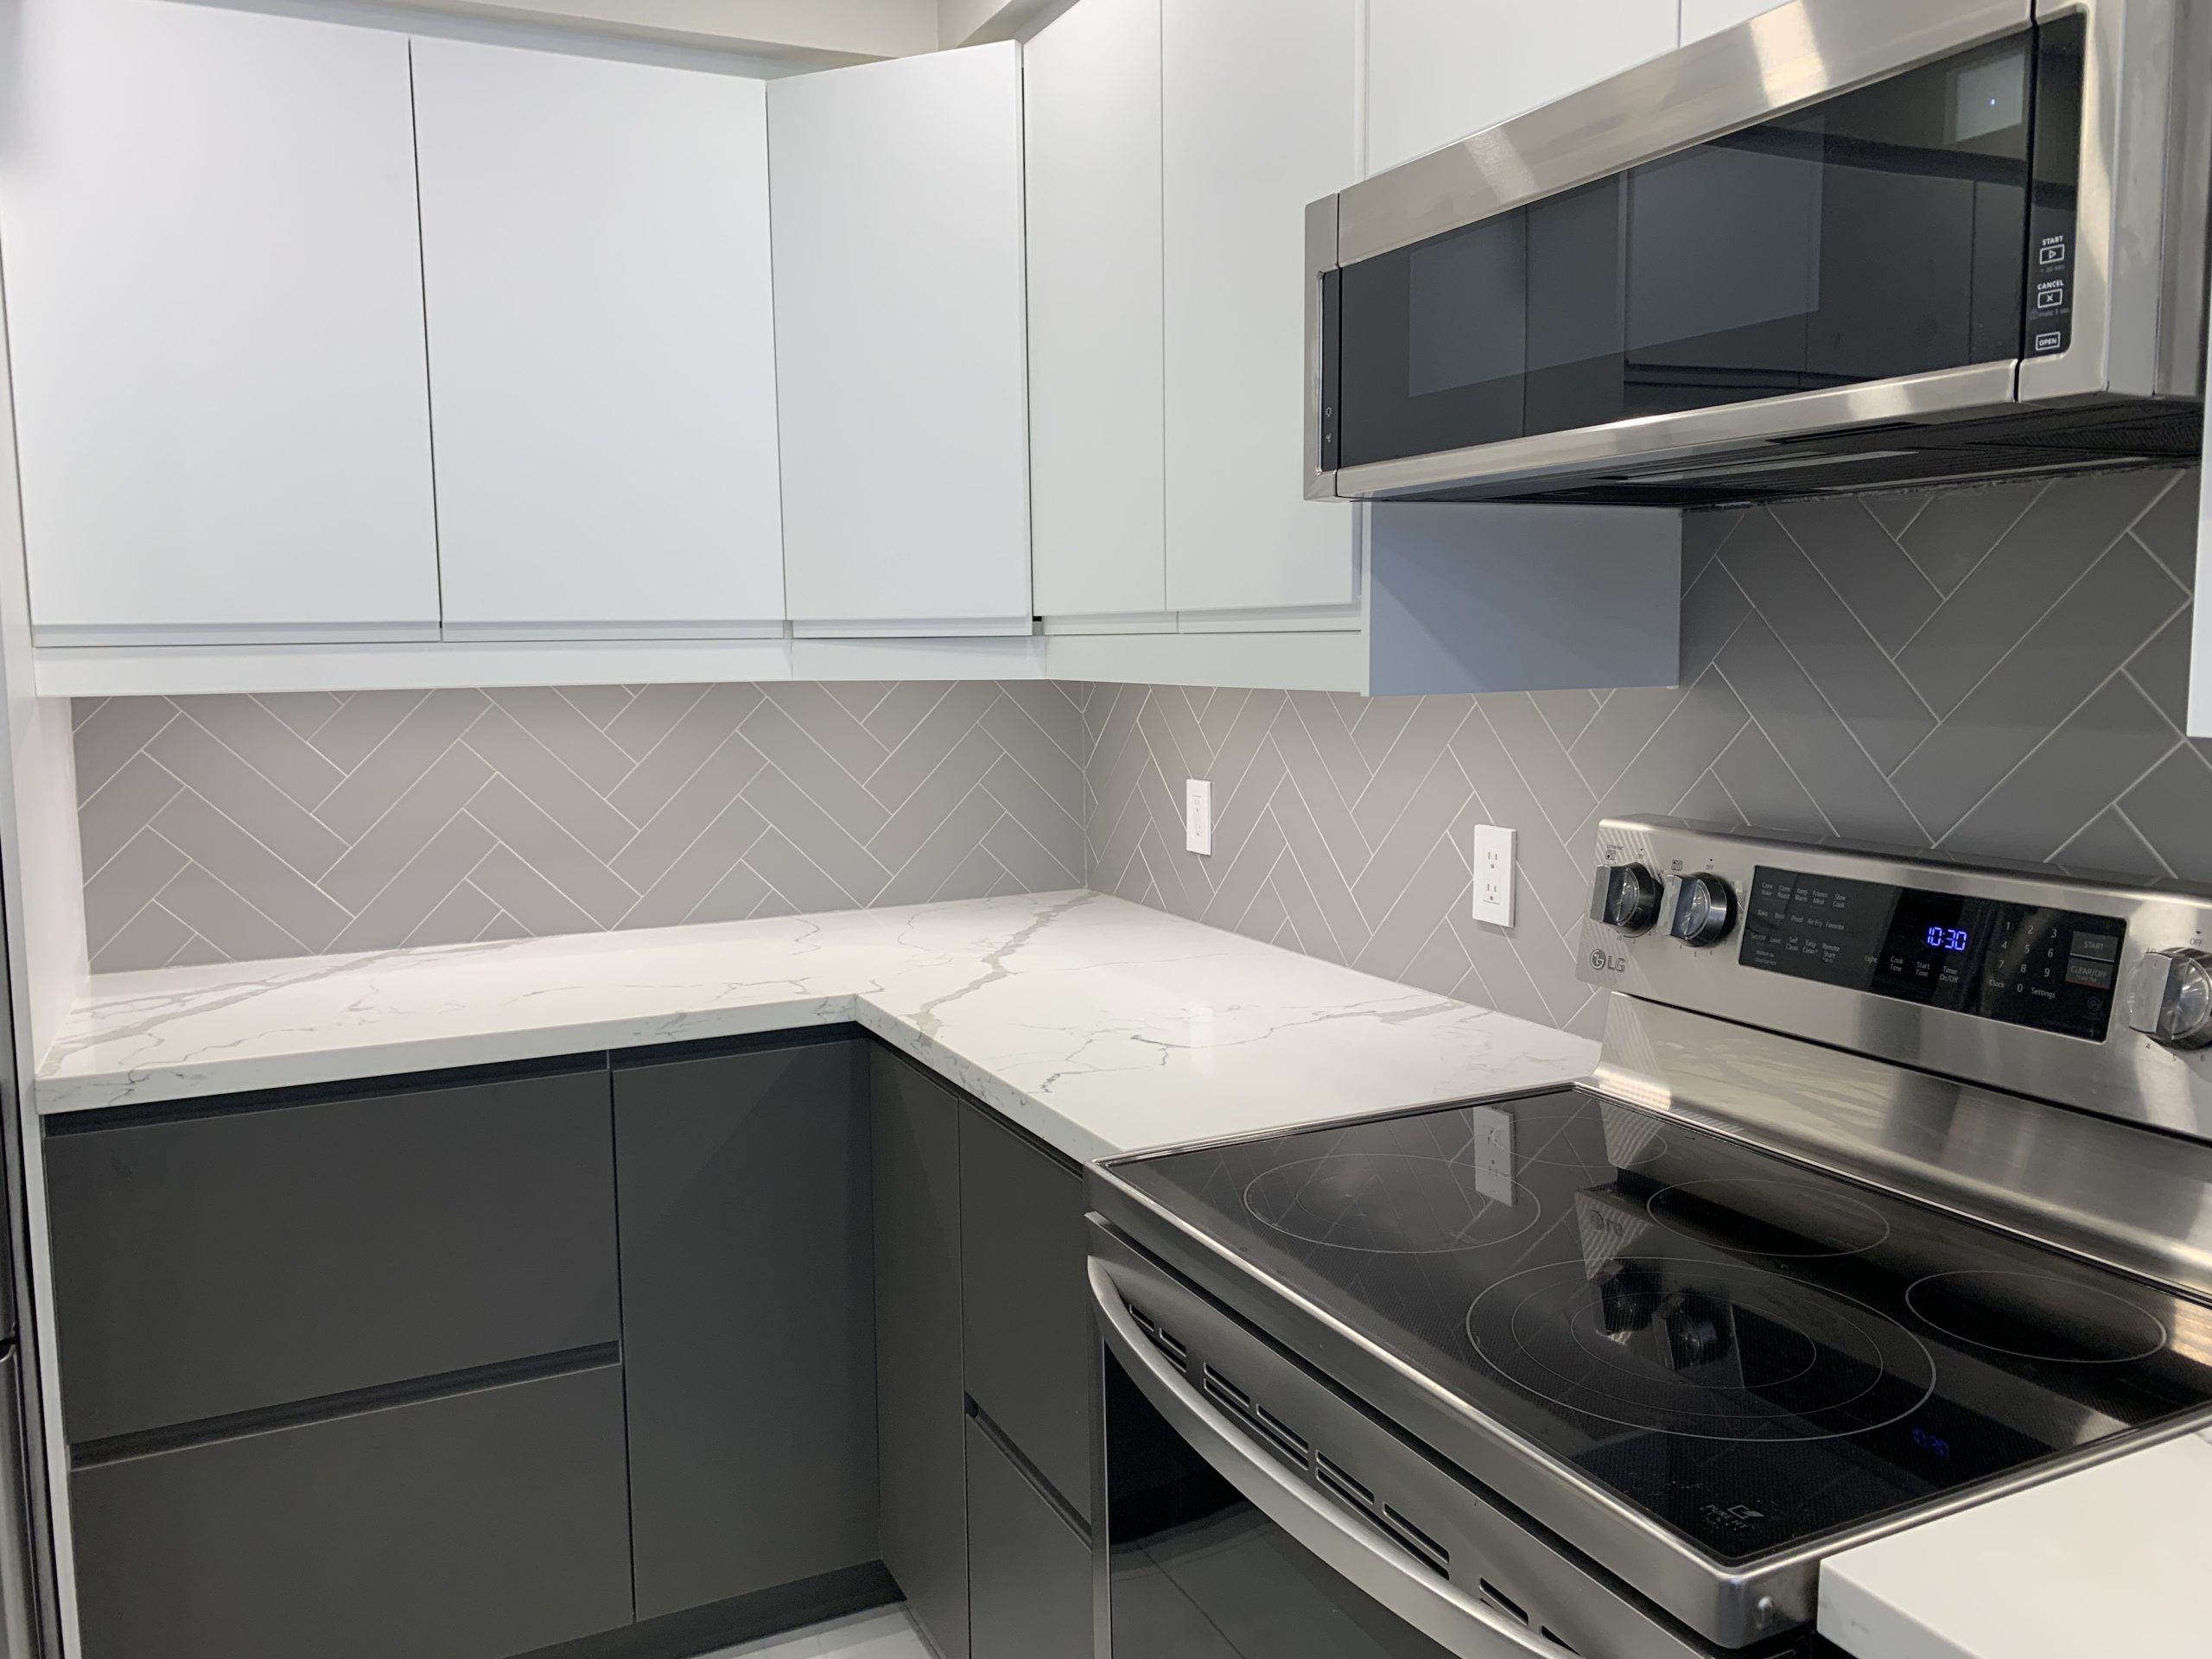
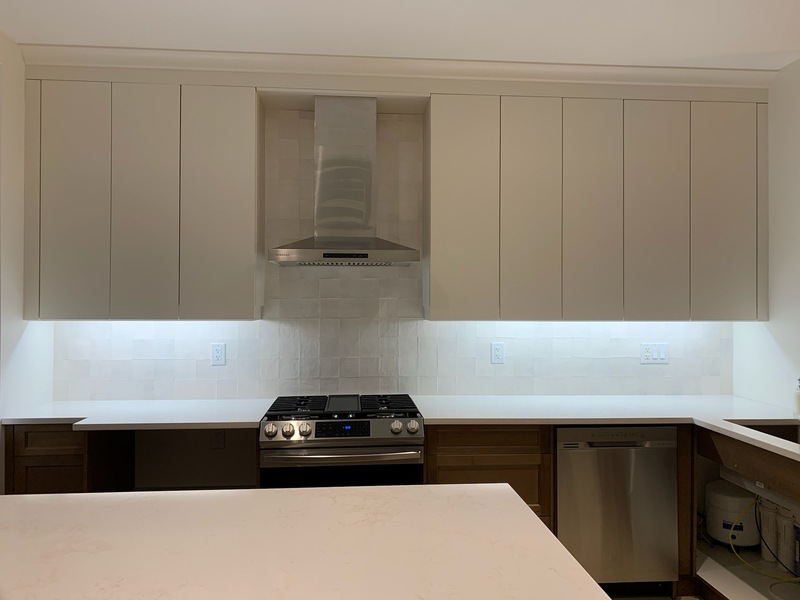
Backdrop backsplashes use colour matching, subtle patterns, classic shapes in neutral tones, and monochromatic schemes. A cream tile with cream grout in a warm-toned kitchen, or a gray tile matched to gray cabinets, lets everything read together without competing.
The Clutter Test
If you are not sure which approach fits your kitchen, do a quick inventory. Count the visible items on your counters and open shelves. If there are more than ten visible objects on any given day, a backdrop backsplash will serve you better. A busy kitchen with a feature backsplash creates visual chaos. A clean, minimal kitchen with a backdrop backsplash wastes an opportunity.
Looking For A Quote?
Expert In Porcelain Tile Installation
We value that proper tile installation is one of the most important parts of any renovation project.
Clean, Friendly, And Professional
Feel comfortable having us in your home while we do our work.
Stress Free Experience
We’ll take the stress out of your renovation by being your guide throughout the experience.
To Get A Quote, Please Complete This Form
The White Subway Tile Conversation
White subway tile appeared in over 70% of Ontario kitchen renovations between 2015 and 2026. It is not a bad tile. It is an overused one, and at this point it reads as a default choice rather than a design decision. Most experienced tile installers and designers across the GTA will tell you the same thing.
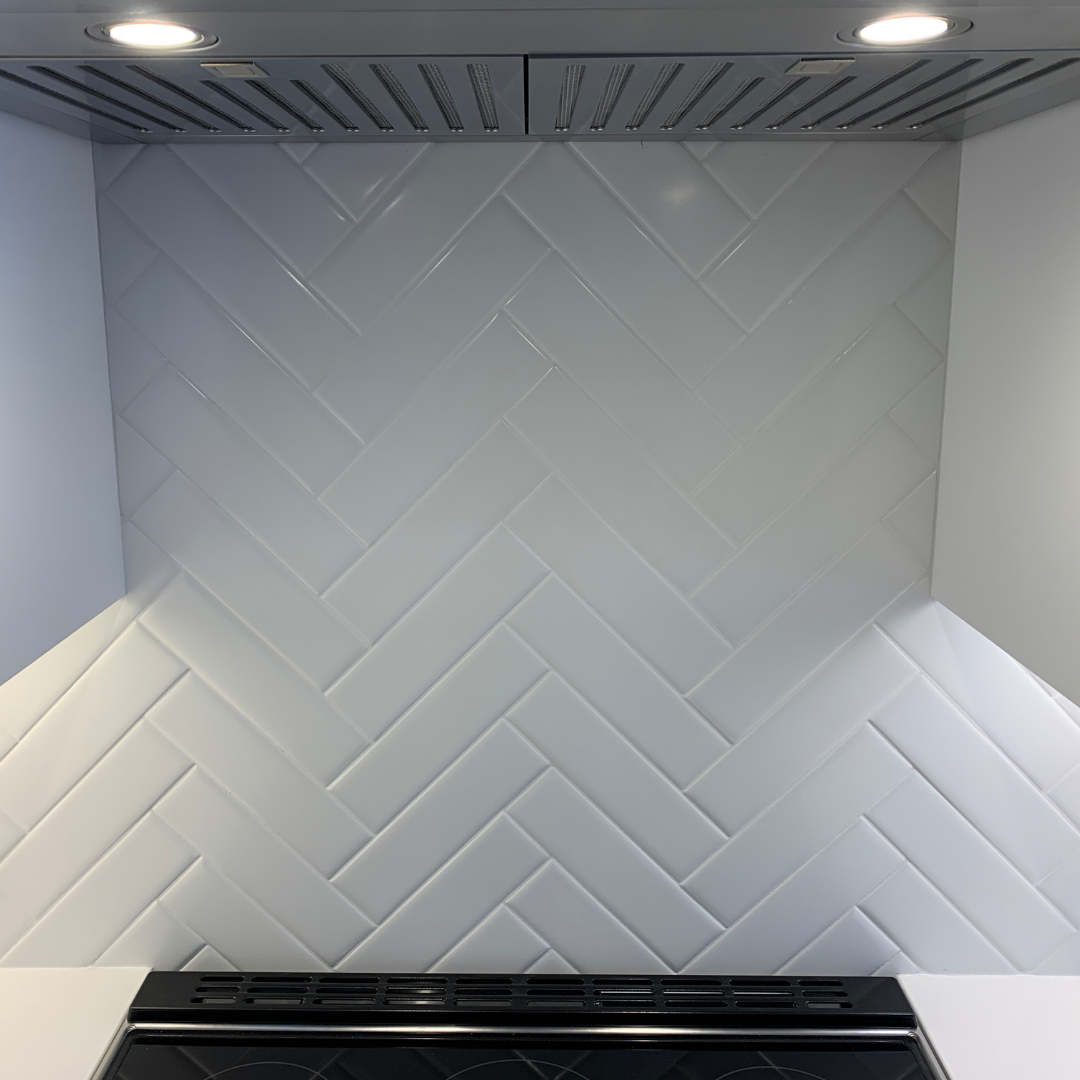
The rectangular format is not the problem. A 2×8 or 4×16 inch rectangle in an off-white or warm cream, installed vertically, or with a handmade-look finish and slight variation in the glaze, is a completely different product than the standard white subway tile. The shape is fine. The specific tile that has been in every new build and rental renovation for fifteen years is not the direction to go.
If you like the clean, simple look of a rectangular tile, there are better versions of that tile available. If you like the idea of something classic that ages well, explore the alternatives before defaulting to the one that has been everywhere.
Material: Matching the Tile to How You Actually Cook
Every backsplash material has a different performance profile. The one that looks best in the showroom is not always the one that holds up in your kitchen. Here is an honest breakdown.
Porcelain
Porcelain is the strongest all-around choice for most Ontario kitchens. It is dense, non-porous, resistant to staining and moisture, and available in virtually every format and aesthetic. Porcelain handles grease splatter, steam, and daily cleaning without degrading. It costs $3-$15 per square foot for materials, lasts 20+ years with minimal maintenance, and is appropriate for every kitchen regardless of how much cooking happens there.
If you are unsure what material to choose, porcelain is rarely the wrong answer.
Ceramic
Ceramic is the most common and costs less than porcelain at $1-$10 per square foot and is a reasonable option for budget-conscious renovations. It comes in matte or glossy, and is resistant to staining over time. Even in a kitchen that sees heavy daily cooking, ceramic is a strong long-term choice.
Glass
Glass tile is visually striking and creates a finish that no other material replicates. It is also the most technically demanding backsplash material to install correctly. Glass chips unpredictably during cutting, particularly around outlets and edges. Because it is transparent, any imperfection in the substrate or the adhesive beneath it shows through the face of the tile. It requires a white thinset mortar specifically formulated for glass, and it needs an installer with specific experience working with it.
Glass backsplashes cost $7-$30 per square foot for materials and typically add 30-50% to installation costs compared to porcelain or ceramic. The finished result can be exceptional. The margin for error is small. If you choose glass, the installer selection matters even more than usual.
Natural Stone
Marble, travertine, and slate have an aesthetic that nothing else truly replicates. They are also the most demanding backsplash material to maintain in a kitchen environment. Natural stone is porous and absorbs cooking oils, grease, and moisture. Without regular sealing every six to twelve months, it stains. In an active cooking kitchen, visible staining can appear within the first year.
Natural stone like marble can cost $10-$40 per square foot and is a legitimate choice for kitchens that see light cooking or are primarily display spaces. For a family kitchen where the stove gets used daily, the maintenance reality needs to be part of the conversation before you commit.
Mixed Materials
Tiles that combine glass and marble, or metal and ceramic, create high visual interest and a layered texture that works well in certain design directions. The main installation consideration is thickness consistency: when multiple materials are combined in a single tile, even slight variation in how each material sits can create an uneven finished surface. Bring your installer into the decision before purchasing mixed material tile.
Colour and Undertone: The Detail That Makes or Breaks Cohesion
Colour matching for a backsplash is not about finding a tile that is close to your countertop or cabinet colour. It is about matching undertones, which are the subtle warm or cool tones that sit beneath the surface colour of every material in your kitchen.
Warm undertones lean toward yellow, red, and orange. Cool undertones lean toward blue, gray, and green. A white tile with a gray undertone placed against a white cabinet with a yellow undertone creates visual discord that is hard to name but immediately noticeable. The colours are close. The undertones clash.
To identify undertones in your existing kitchen, look at your countertop edge in natural light. White quartz typically has cool gray undertones. Butcher block reads warm. Granite varies by slab. Once you know the undertone of your dominant surface, bring backsplash samples home and compare them against the countertop edge and the cabinet face in your actual kitchen lighting, not the showroom.
Test samples at multiple times of day. Kitchen lighting changes significantly between morning, midday, and evening, and a tile that reads perfectly at noon can look off under evening kitchen lighting.
How Far to Tile: Three Approaches
Where the backsplash starts and stops is a design decision that affects both the look and the budget of your project.
Counter to Upper Cabinets
The standard approach runs tile from the countertop to the bottom of the upper cabinets, covering 18-20 inches of wall height. This approach is clean, widely accepted, cost-effective, and appropriate for most kitchen styles. It keeps square footage to around 30-35 square feet for a typical kitchen, which holds total installed costs in the $500-$1,500 range depending on material.
This is the right approach for traditional and transitional kitchens, budget-conscious renovations, rental properties, and any kitchen where the upper cabinets provide a natural visual stopping point.
Counter to Ceiling
Running tile from the countertop to the ceiling eliminates the painted wall section between the cabinets and ceiling entirely. It emphasizes ceiling height, makes the kitchen feel larger, and creates a dramatic backdrop in open-concept spaces. This approach works particularly well in modern and contemporary kitchens with ceilings at nine feet or higher.
The cost implication is significant. Full-wall coverage increases square footage by 50-100% depending on ceiling height. It also increases labor costs because of the additional scaffold or ladder work required and the precision needed for ceiling-level cuts. Budget accordingly before committing to this approach.
Selective Coverage
Tiling around windows, range hoods, or specific architectural features without covering the full wall creates a custom, intentional look at a more controlled cost. A tile surround on the window above the kitchen sink, for example, adds visual interest and a high-end appearance for a relatively small amount of additional material and labor. This approach works well in kitchens where budget and design priorities need to be balanced.
Where Backsplash Ends: Getting the Edge Right
A backsplash with a clean, finished edge looks intentional. One with a raw cut edge that has been painted over looks unfinished. Plan your edge treatment before installation starts.
Bullnose tile (a tile with one rounded finished edge) is the traditional choice and adds $3-$8 per linear foot. It suits traditional and transitional kitchens.
Metal trim in brushed nickel, brass, or matte black creates a clean, contemporary edge and costs $8-$15 per linear foot. It is the right call for modern kitchens and pairs well with matching hardware.
Slab materials like quartz or marble can be edge-polished for a seamless finish, which adds $50-$150 to the project but eliminates any visible transition between the backsplash and the wall.
Grout Colour: The Decision Most People Get Wrong
Grout colour determines how visible the tile pattern is. The same tile with matching grout and contrasting grout looks like two completely different backsplashes.
Matching Grout
When grout matches the tile colour, the grout lines recede and the tile reads as a continuous surface. The shape of the tile becomes secondary and the material, texture, or colour of the tile itself takes over. This approach suits feature backsplashes where the tile is the point, modern and minimalist kitchens where a clean uninterrupted surface is the goal, and tiles with interesting texture or finish worth emphasizing.
The practical trade-off with light matching grout is stain visibility. Light grout near a stove shows cooking splatter and requires more frequent cleaning and resealing. Epoxy grout costs a little more but resists staining significantly better than standard cementitious grout and is worth the upgrade in high-splash zones.
Contrasting Grout
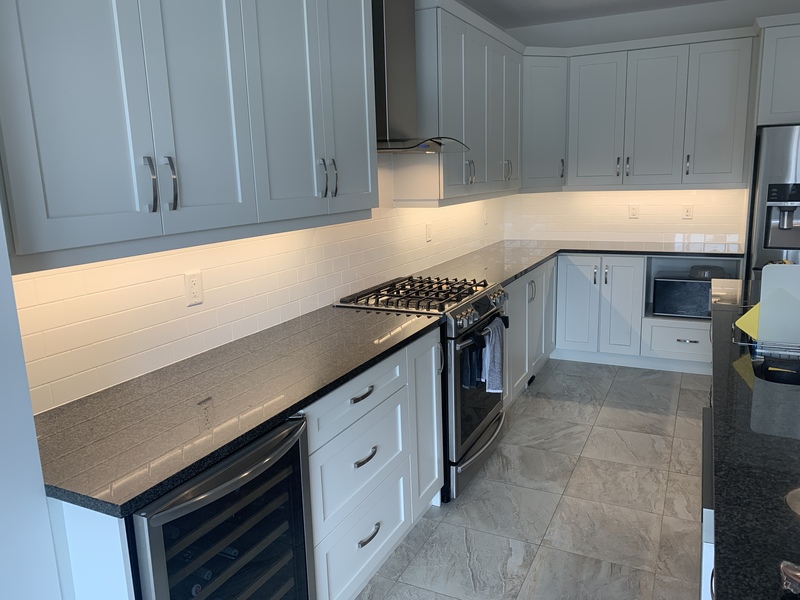
When grout contrasts with the tile, the grout lines become a design element. The tile shape reads clearly across the wall and the pattern jumps forward visually. White subway tile with black or charcoal grout is the most common example. This approach suits backdrop backsplashes where the pattern adds interest without colour, tiles with strong geometric shapes worth highlighting, and farmhouse or traditional kitchens where the classic subway grid is intentional.
The practical advantage of dark contrasting grout is that it hides cooking splatter and discoloration and requires less maintenance over time than light grout.
The Integration Rule
For feature backsplashes, matching grout generally lets the tile material and colour carry the look without competing with a visible grid. For backdrop backsplashes, contrasting grout adds visual interest to a simpler tile without requiring a more dramatic or expensive material choice. If you are tiling to the ceiling, matching grout prevents the pattern from becoming overwhelming across a large surface area.
Tile Size and Scale: Matching the Format to the Space
The proportion of your tile to your available wall space matters. A large format tile in a narrow galley kitchen feels oppressive. A small mosaic tile across a large open-concept kitchen wall looks busy and creates excessive grout line maintenance.
Standard backsplash height is 18-20 inches. In smaller kitchens under 100 square feet, tiles under four inches in any dimension create an appropriate visual scale. In larger kitchens over 200 square feet, tiles six inches and larger prevent a busy or overwhelming appearance.
Horizontal rectangular tiles widen a narrow space visually. Vertical rectangular tiles draw the eye upward and heighten the perception of ceiling height. Large format square tiles in an open-concept kitchen create cohesion with adjacent living spaces.
Measure your vertical space before selecting your tile format. A tile that requires awkward cuts at the top of the backsplash because of its size creates a problem that cannot be fixed after installation.
Practical Tips Before You Buy
Bring samples home before you commit. Tile looks different in a showroom than it does in your kitchen. The lighting is different, the surrounding context is different, and your eye adjusts differently. Evaluate samples in your actual kitchen at different times of day before placing a full order.
Talk to your installer before you buy. Glass tile near outlets, natural stone with an active cooking schedule, large format tile on an uneven wall: these are problems your installer can flag before the tile is purchased. Bring samples to your installer for an assessment first, not after the order has arrived.
Order extra and keep it. A 10-15% overage covers cuts and breakage during installation. Beyond that, keeping extra tile from the same production run protects you from a discontinued colour problem if you need a repair three years from now.
Do not underestimate the outlet challenge. Outlets on a backsplash wall require precise cuts regardless of material. With glass tile especially, those cuts create genuine risk of chipping and visible imperfection. Plan your tile layout around outlet positions and discuss this with your installer before installation begins.
Consider long-term maintenance honestly. A beautiful natural stone backsplash that you are not willing to seal every six months will look worse in two years than a well-chosen porcelain tile that requires almost nothing. Match your material choice to your actual cleaning habits, not your aspirational ones.
Final Thoughts
The kitchen backsplash is one of the highest-impact decisions in any kitchen renovation, and it is one of the most permanent. A quality installation with the right material, properly grouted and finished, lasts 15-20 years and shapes how your kitchen looks and feels every single day.
At Canadian Tile Pro, we install kitchen backsplashes in Oakville, Burlington, Mississauga, and Hamilton. We work with homeowners from the material selection stage through to final installation, and we flag problems before they become expensive ones. If you are planning a kitchen renovation and want to get the backsplash right from the start, reach out for a quote and let’s talk through what your space actually needs.

Trusted Tile Installation Experts
At Canadian Tile Pro, we don’t just lay tile, we build lasting spaces. Founded by Sol, a certified tile installer and author of the popular book Tile Confidential, we bring precision, craftsmanship, and total transparency to every project in Oakville.
Expert In Porcelain Tile Installation
We value that proper tile installation is one of the most important parts of any renovation project.
Clean, Friendly, And Professional
Feel comfortable having us in your home while we do our work.
Stress Free Experience
We’ll take the stress out of your renovation by being your guide throughout the experience.
To Get A Quote, Please Complete This Form


